Introduction
This is a quick step-by-step walkthrough for changing your PHP version on your Reseller Hosting account, via the Plesk Onyx control panel.
Installing a new PHP version
STEP 1
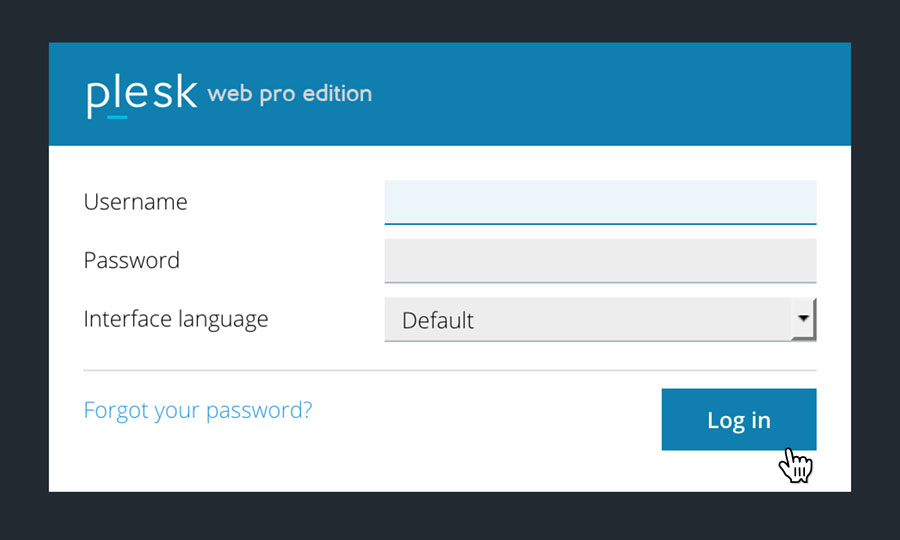
Login to your account
Firstly you’ll need to login to your control panel, which will be at a URL https://plesk.sitehub.agency:8443/
STEP 2
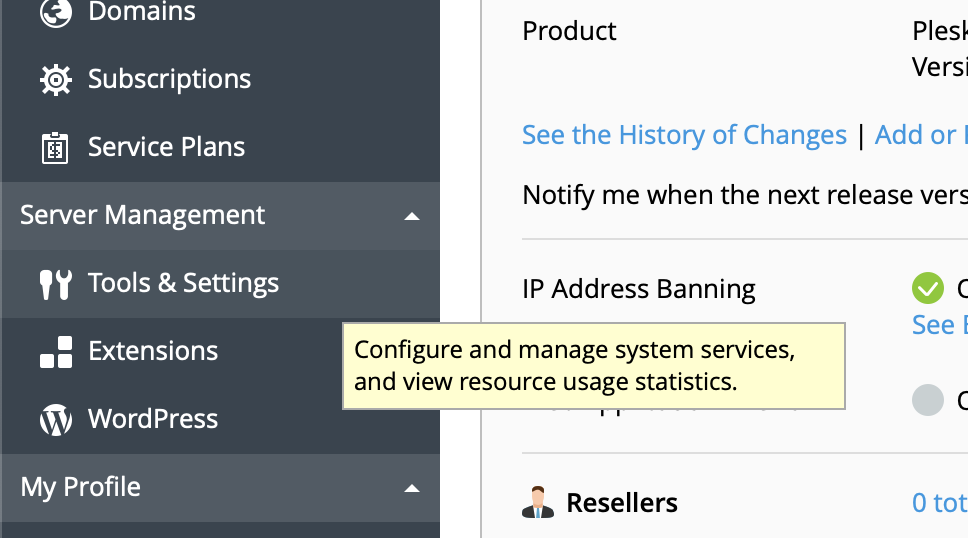
Select ‘Tools & Settings’
From the left hand navigation menu, select the ‘Tools & Settings’ button.
STEP 3
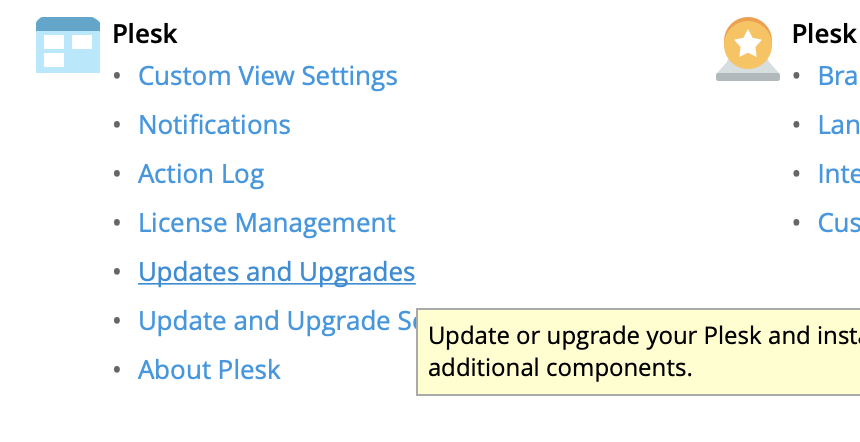
Select ‘Updates and Upgrades’
From the Tools & Settings menu, navigate to the settings with the ‘Plesk’ header, and select ‘Updates and Upgrades’.
This will take you to a new menu.
STEP 4
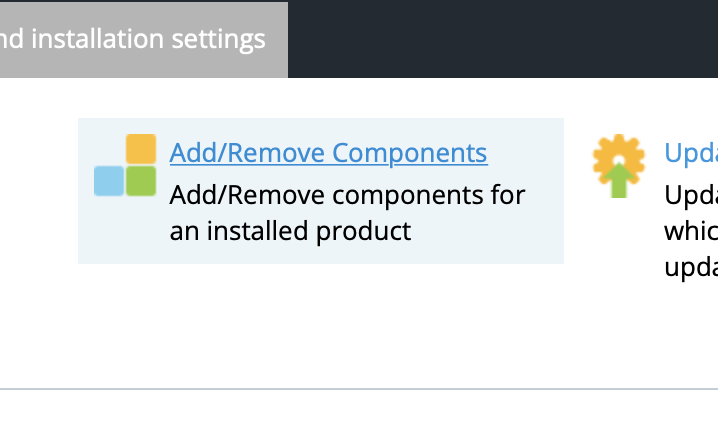
Select ‘Add/Remove Components’
Plesk may run installer upgrades when you load this page, if so wait for them to finish, when complete you will see the ‘Updates and Upgrades’ menu.
From the menu, select the ‘Add/Remove Components’ button.
STEP 5
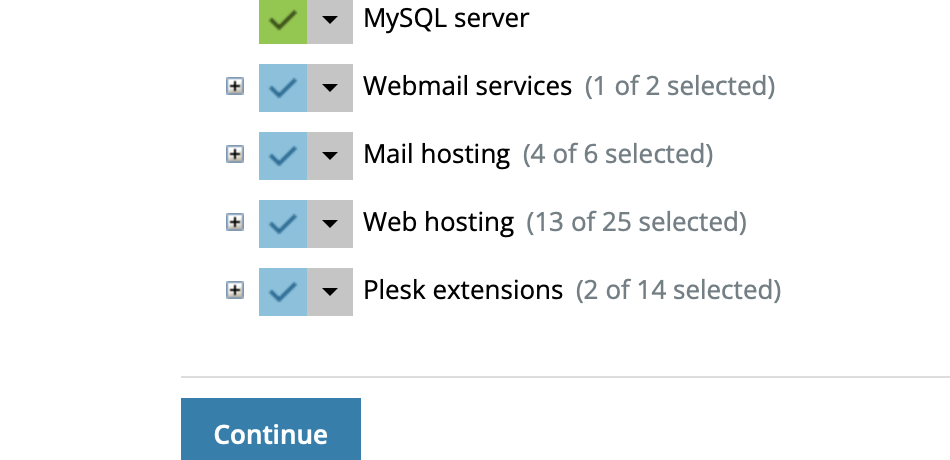
Expand ‘Web Hosting’
From the list of available components, scroll down to ‘Web hosting’ and click the ‘+’ icon to the left to expand the options available.
STEP 6
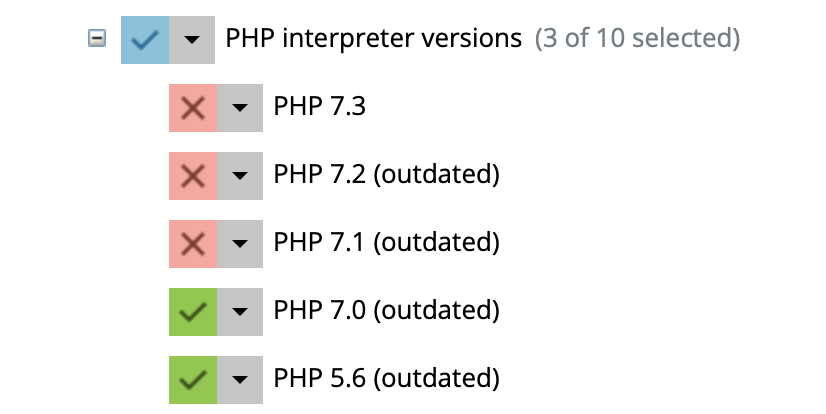
Expand ‘PHP interpreter versions’
From the list of web hosting components, scroll down to ‘PHP interpreter versions’ and click the ‘+’ icon to the left to expand the options available.
This will now list the versions of PHP installed on your server.
STEP 7
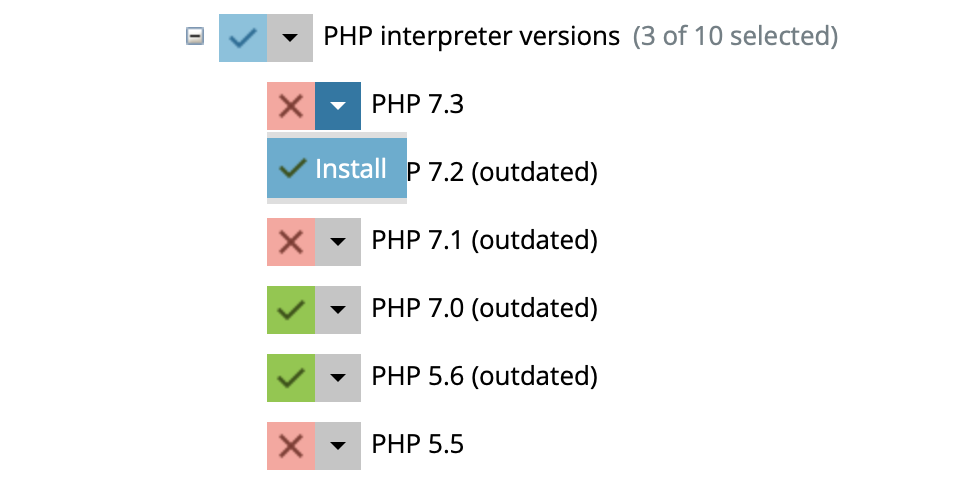
Install new versions
Select the red ‘X’ on any PHP version you wish to install, this will open a drop down menu and reveal an ‘install button’. Click the button to change the X to a tick.
STEP 8
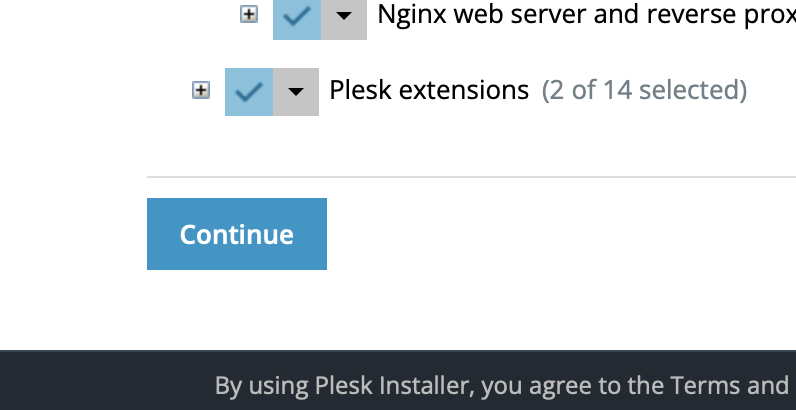
Select ‘Continue’
With the PHP version you wish to install ticked you can now scroll down to the continue menu.
This will initiate the installer.
STEP 9
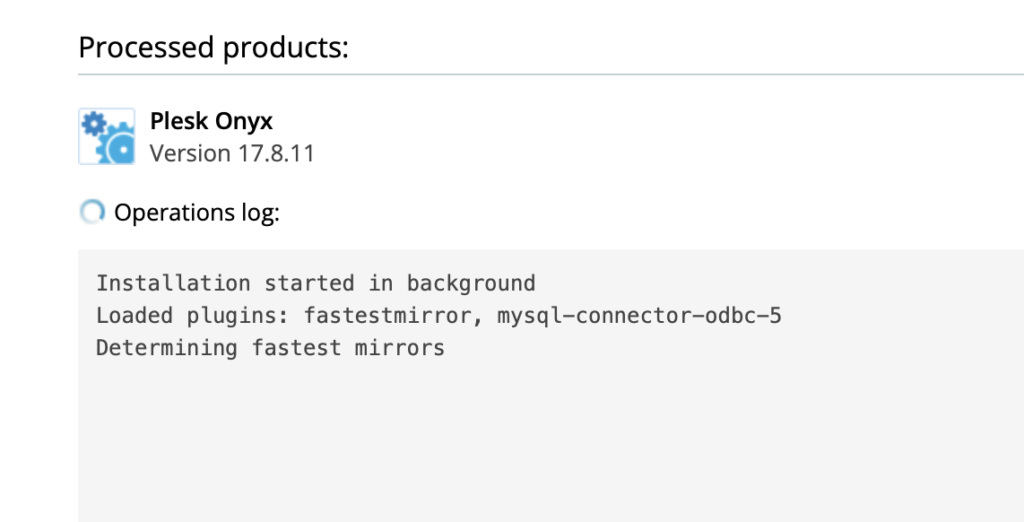
Allow the installer to run
The Plesk installer will now run, await until this returns a success message. You can then close this page and return to Plesk
If this page returns an error, please take a copy and contact our support team.
Setting the PHP version on a website
STEP 1
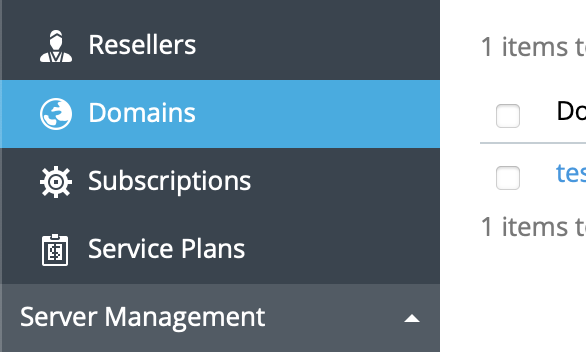
Select ‘Domains’
Returning to the Plesk control panel, select ‘Domains’ from the left hand navigation menu.
STEP 2
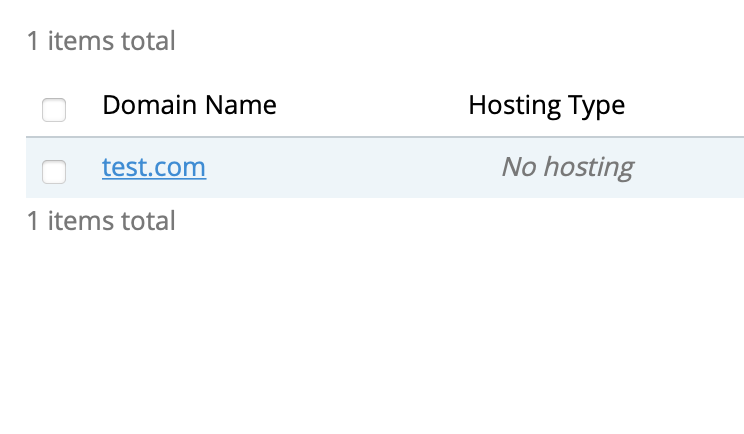
Select your domain
From this list of available domains, select the one you wish to edit the PHP version for.
STEP 3
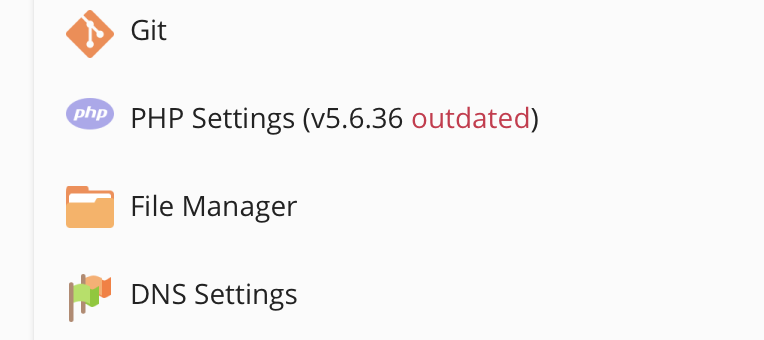
Select ‘PHP Settings’
From the list of hosting control panel options, select the ‘PHP Settings’ button.
STEP 4
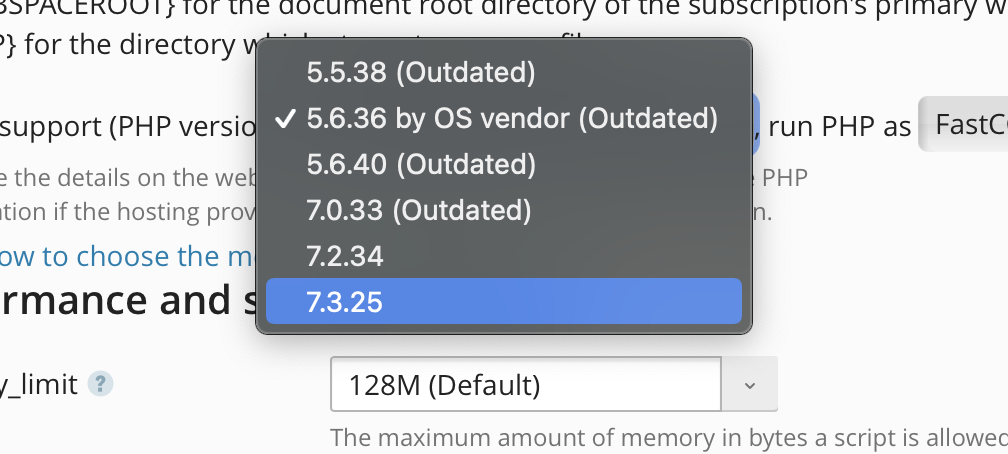
Select the new PHP version
At the top of the list of PHP Settings, use the ‘PHP Support’ option to open a drop-down menu of available PHP versions. Select the version you wish to use on your website.
STEP 5
Select ‘Apply’
After choosing your PHP version, scroll to the bottom of the page and click the ‘Apply’ button.
This will change the PHP version running on your website.
Be sure to check the site after making this change. If you find any issues you can revert the PHP version using the PHP Settings page again.
